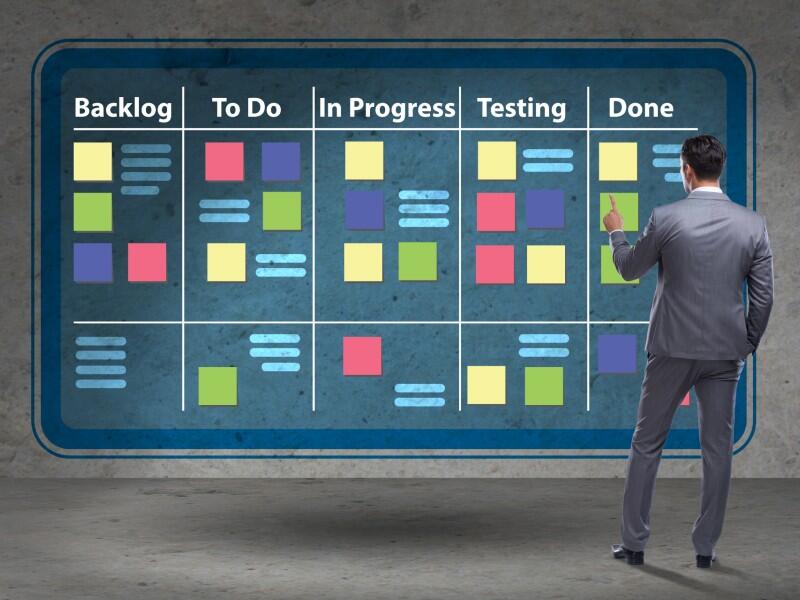
Mattermost includes a very powerful kanban board option. Jack Wallen shows you how to use the feature to better empower your collaborative efforts.

About a year ago, I realized just how much more efficient my workflow could be when using kanban boards. Since then, I’ve employed them for all types of projects and needs (from fiction writing to home projects, and even client management). I’m also constantly looking for more and where kanban boards can be used. That hunt led me to Mattermost, a service I had no idea included kanban boards.
SEE: Hiring kit: Project manager (TechRepublic Premium)
They do and it’s an outstanding option for anyone needing a highly functional collaboration platform. Because Mattermost includes a powerful discussion tool (with channels and other collaborative features), as well as playbooks (to create and automate repeatable procedures). But the feature I want to point out at the moment is the Mattermost kanban board option.
One of the best features of the Mattermost kanban solution is the ability to easily create kanban boards based on templates. You can create kanban boards for the likes of content calendars, meeting agendas, personal goals, personal tasks, project tasks, roadmaps and even build your own templates.
Let’s find out how this works.
What you’ll need
To work with Mattermost kanban boards, you’ll need either a self-hosted Mattermost deployment or one hosted on the Mattermost cloud. I’ll be demonstrating on the cloud-hosted version (but will be writing a how-to on deploying Mattermost to your on-prem server soon). Once you’ve obtained a Mattermost account, it’s time to create your first kanban board.
How to create a kanban board in Mattermost
Log into your Mattermost account and you’ll find yourself on the default tool, Channels. To get to the kanban boards section, click the square icon in the upper left corner (Figure A).
Figure A

From the resulting drop-down menu (Figure B), select Boards.
Figure B

You should see any channels you’ve created listed here (Figure C).
Figure C

Select one of your channels and you’ll find yourself in the template selection window (Figure D).
Figure D

For my new board, I’m going to select the Content Calendar template. Do that and click Use this template. Mattermost will automatically build your board and populate it with groups (columns) and cards (Figure E).
Figure E

You can easily rename any of the groups by simply clicking on one, deleting the original name, and typing a new one. To create a new card, click the New button under the target group and fill out the necessary information (Figure F).
Figure F

One thing you should make sure to do is to create new properties as you build cards. By default, the template will be limited to what Mattermost assigns, based on the template you’ve chosen. To add a new property, click Add a Property in the card creation window and then select a type from the drop-down (such as text, number, email, phone, etc), give the property a name (Figure G), and hit Enter on your keyboard. You can then fill in the value for the property.
Figure G

There is no save button. After filling out the card, click the X in the upper left corner and your card will appear in the group. As the status of the task associated with the card changes, you can drag it along the timeline to move it from, say, Idea to Draft, to Beta and so on.
SEE: Scrum or kanban: Which agile software development tool is best for your project? | TechRepublic (TechRepublic)
Continue like this until you’ve built your board. Anyone who is a member of a particular channel will have access to the associated board, where they can collaborate on your projects.
And that’s all there is to using Mattermost kanban boards. If you’re already a Mattermost user, make sure to take advantage of this feature to use this service to better empower your collaborative efforts on a project.
Subscribe to TechRepublic’s How To Make Tech Work on YouTube for all the latest tech advice for business pros from Jack Wallen.


